In this guide I will explain how to create an LXC container with Tailscale setup to enable access to the entire network in which it resides.
This guide assumes you already have a Tailscale account.
This guide is my own, but I did initially use this youtube video as inspiration:
1. Create an LXC container
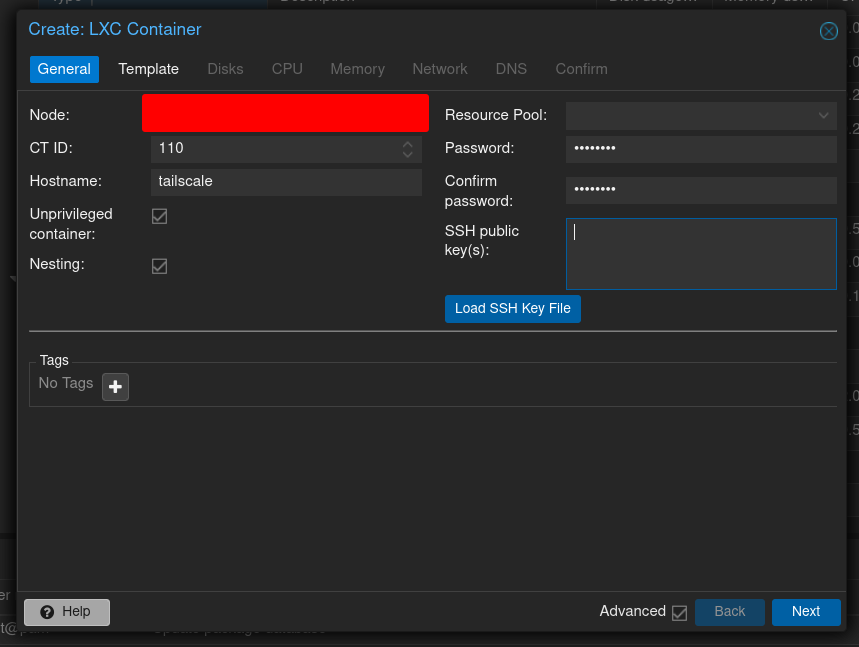
- Create a new LXC container.
- Give it a Hostname.
- Give it a Password.
- (optional) Give it an SSH Key.
For this guide I will leave all other settings as default.
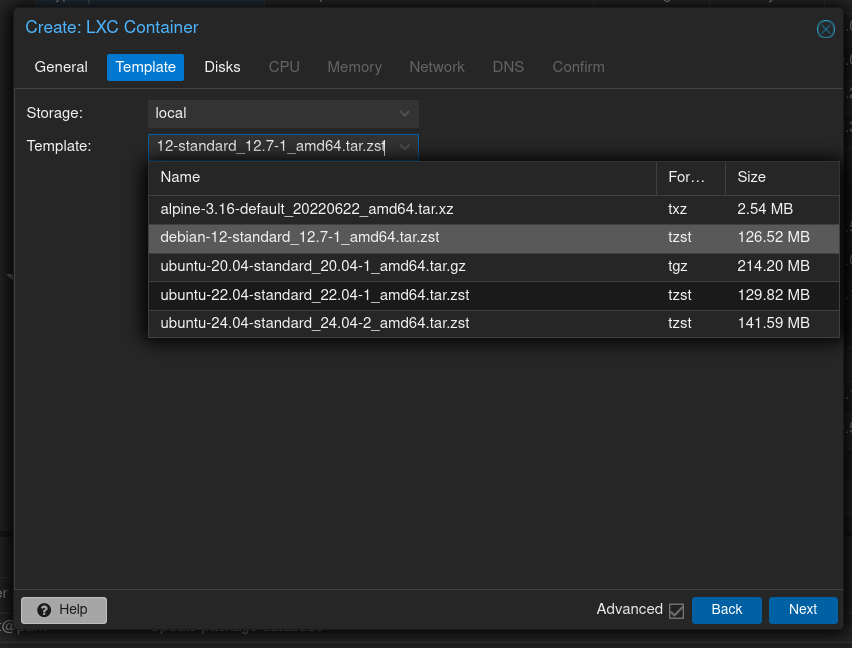
Choose a template. For this guide I will be using Debian 12 Bookworm. Other default templates should work just as well.
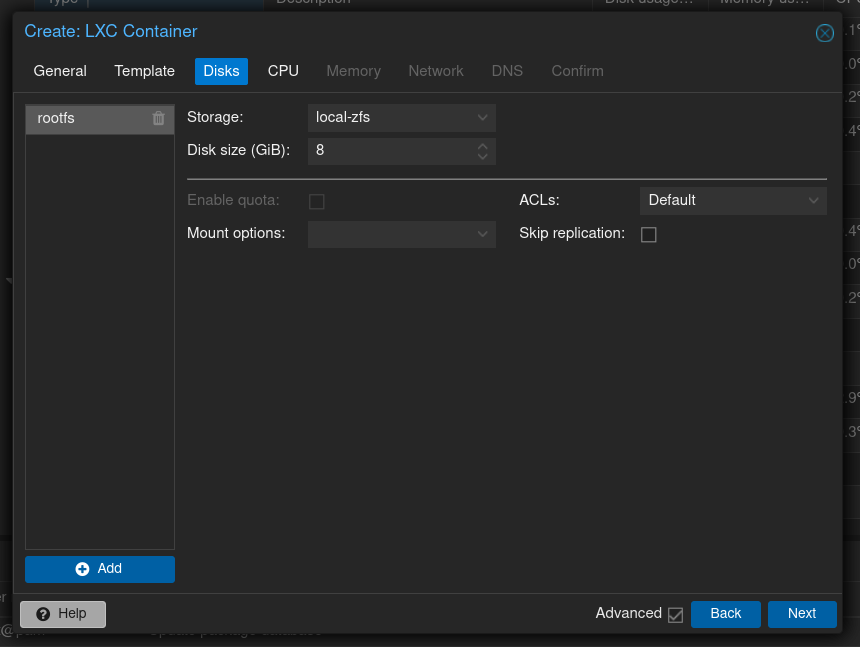
Specify storage for the container. Use default settings, Tailscale does not require any additional storage to run correctly.
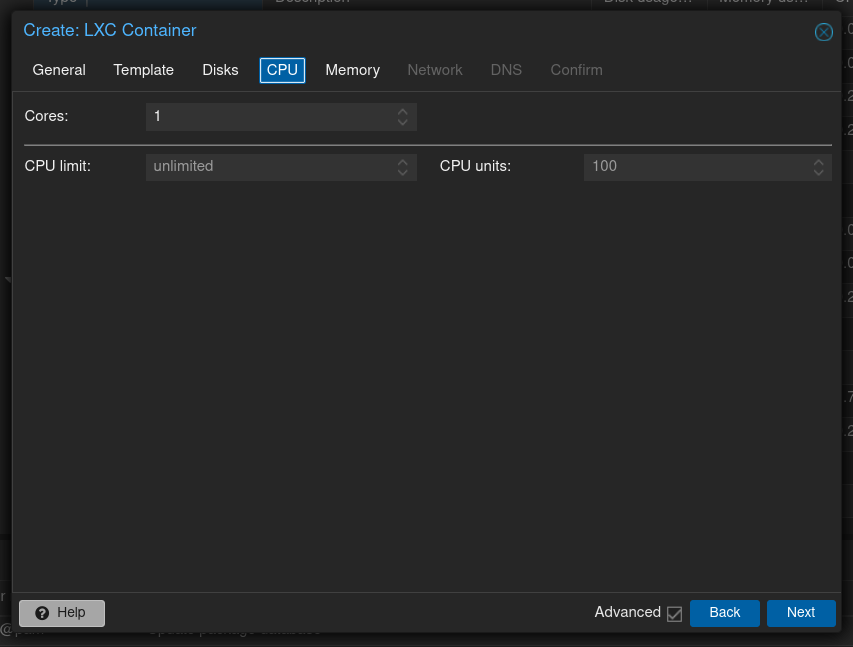
Specify CPU resources for the container. Again, use default settings, Tailscale does not require significant CPU resources.
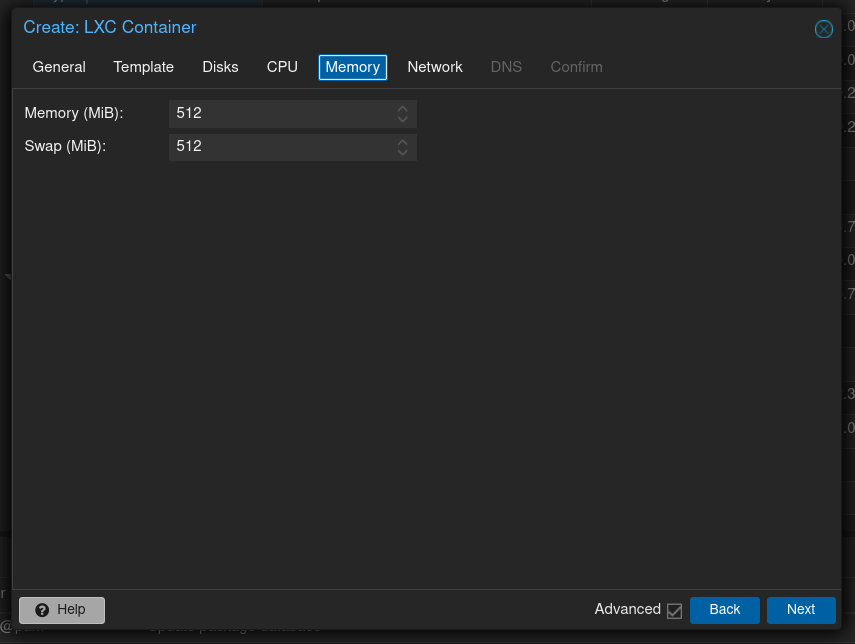
Specify Memory resources for the container. Again, use default settings. Tailscale does not use significant amounts of Memory.
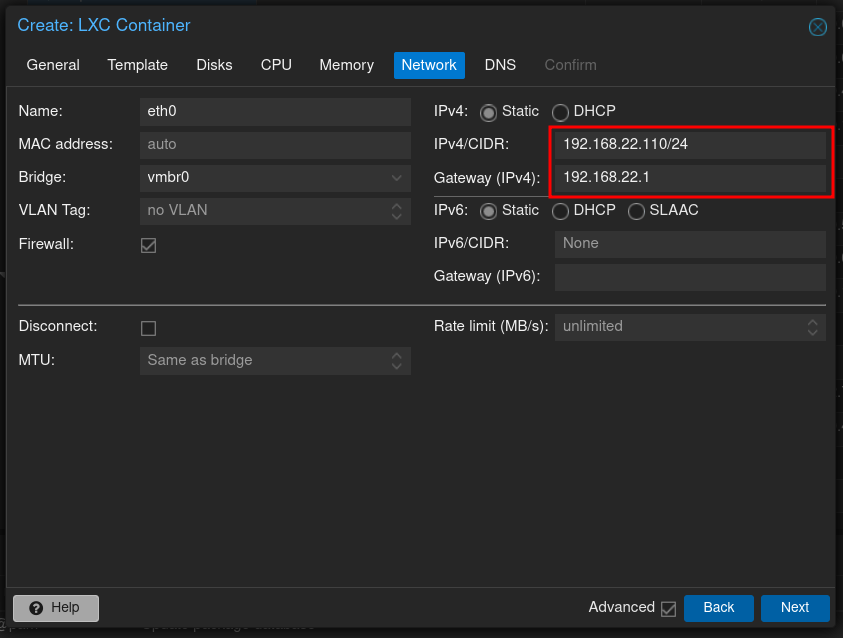
Specify network settings for the container. Use a static IP address. For this guide I will specify an IPv4 address, and leave all other settings as default.
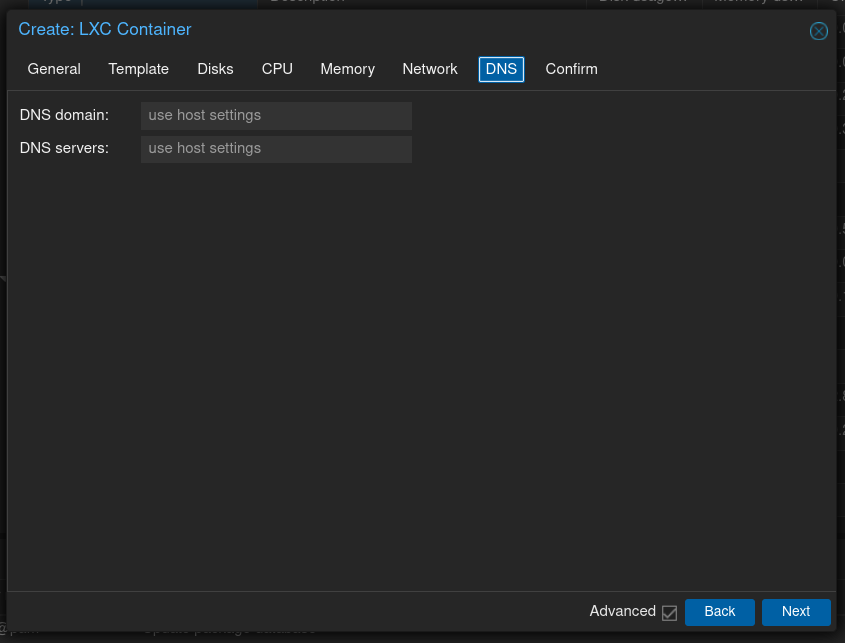
Specify DNS settings. For this guide I will use default settings.
2. Initial Setup
Open a command line shell into the newly created container. Update all repositories. Apply all updates. Install curl.
If you are using Debian 12, this can be achieved with the following commands:
apt update
apt upgrade
apt install curl
Run the Tailscale installer script using curl:
curl -fsSL https://tailscale.com/install.sh | sh Once completed, DO NOT execute the tailscale command (e.g. do not execute the command tailscale up). There is additional configuration still required.
Using nano, open the configuration file located at /etc/sysctl.conf. Either uncomment or append the following lines:
net.ipv4.ip_forward=1
net.ipv6.conf.all.ip_forwarding=1
Initial configuration is now complete. Shutdown the container.
3. Proxmox Host Setup
Open a command line shell for the Proxmox Host (NOT the container).
Using nano, open the configuration file at /etc/pve/lxc/{id}.conf, where {id} is the ID number of the Tailscale container. Append the following lines to this file:
lxc.cgroup2.devices.allow: c 10:200 rwm
lxc.mount.entry: /dev/net/tun dev/net/tun none bind,create=file
Close the command line shell.
4. Final setup
Again, open a command line shell for the container, and execute the tailscale command. For this guide I will include the --advertise-routes flag so that this container can provide access to all other devices / services within the network.
tailscale up --advertise-routes
If successful, the command should output instructions to login to your Tailscale account and verify the new Tailscale instance, and add it to your Tailscale network. Depending on the options you included, you may need to enable additional access to the device in the Tailscale Admin Console settings.